Optimize Designs for 3D Printing
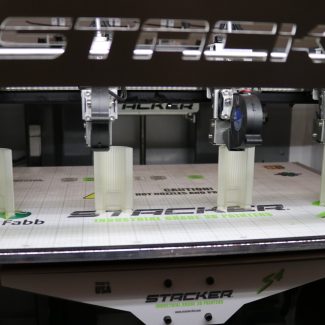
3D printing has noticeably grown in the past few years, making its way into countless industries. For example, almost 71% of surveyed companies say they have increased their 3D printing usage. Among all the benefits of 3D printing, being able to create reliable and enticing designs is paramount.
If you’re looking to make the best of your model, here are a few proven ways to optimize your designs for 3D printing.
Mesh Repair
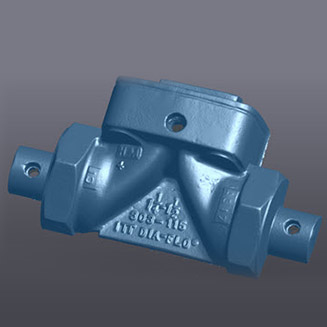
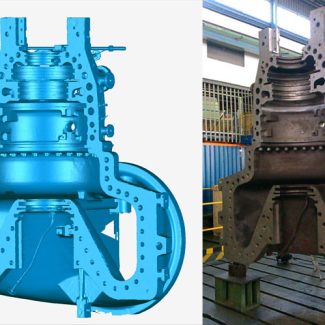
While working on your 3D design, you might encounter multiple issues with the model mesh. Some include holes, gaps, inverted and overlapping faces, etc. These defects usually bring inaccuracies in the finished model or cause printing failures.
To avoid these issues, you’ll need to repair the mesh with the help of 3D modeling software or repair tools. You can also try simplifying the geometry of your design while keeping the essential details.
Proper Scaling and Orientation
Two major things you need to consider when designing your model are its size and position. Scaling is about adjusting the measurements and dimensions of your model. Therefore, you can tailor the size of your model to meet its intended requirements or experiment with small prototypes.
On the other hand, orientation involves positioning your model at an angle that optimizes print quality and reduces errors. With proper orientation, your model would be printed with high accuracy and minimum overhangs and support structures that ruin it.
Consider Wall Thickness
The practicality of your 3D model also heavily depends on how thick its walls are. Walls that are too thin can be fragile and vulnerable to damage. On the contrary, too much thick walls can affect the print’s dimensional accuracy. Either way, the quality of your model will be negatively affected.
For this issue, you’ll need to adjust the thickness of your model depending on the level of strength and detail you want. You can try experimenting with prototypes until you get the desired outcome.
Establish Support
When designing, you’ll come across structures that can’t stand without proper support once they’re printed. In 3D models, overhangs extend out horizontally at a steep angle, and bridges hang between two points without anything under it. If either of these structures isn’t supported properly, they will visibly droop and fall.
To keep from ruining the accuracy of your model, make sure your overhangs don’t exceed a 50-degree angle. For your bridges, you can add thin support structures since they are easily removable.
Hollowing and Infill
Hollowing and infill are printing tactics that help you optimize the amount of material you usually use. In the hollowing process, your model’s interior is left empty. It minimizes material consumption while lightening the weight of your model and lowering print duration.
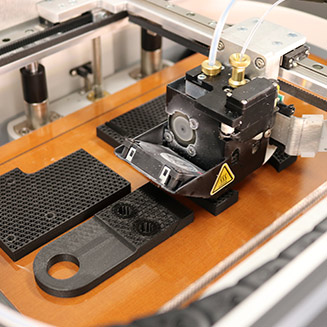
With infill, the internal structure of your model is only partially filled with a specific pattern. You can choose different patterns depending on your requirements. Some common ones are zig-zag, grid, cross, etc.
For the most accurate and stable construction of your 3D model, it’s essential you optimize the structure of your design. Consider the different factors in the mesh, the size, its support, and internal structure. By implementing these printing strategies, you can unveil the true potential of 3D printing.

